
How to Use Personio API : Easy HRIS Integration Guide
Summarise the blog with AI

This guide covers how to integrate with the Personio API for HRIS data access. If you're looking for an easier path, Bindbee connects you to Personio and 65+ other HRIS systems through one normalized API.
Understanding Personio API
Personio provides a REST API covering employees, time off, attendance, and documents. Strong presence in DACH and European markets. Authentication uses client credentials (client ID + secret) for OAuth 2.0 flows.
Key Integration Use Cases
- Employee data sync: Pull employee profiles, employment details, and org structure.
- Time-off management: Access leave requests, types, and balances.
- Attendance data: Sync clock-in/out and working time records.
Integration Methods
Direct API
Personio's API requires per-customer client credential setup and handling their DACH-specific data model, including German payroll compliance fields.
Using Bindbee
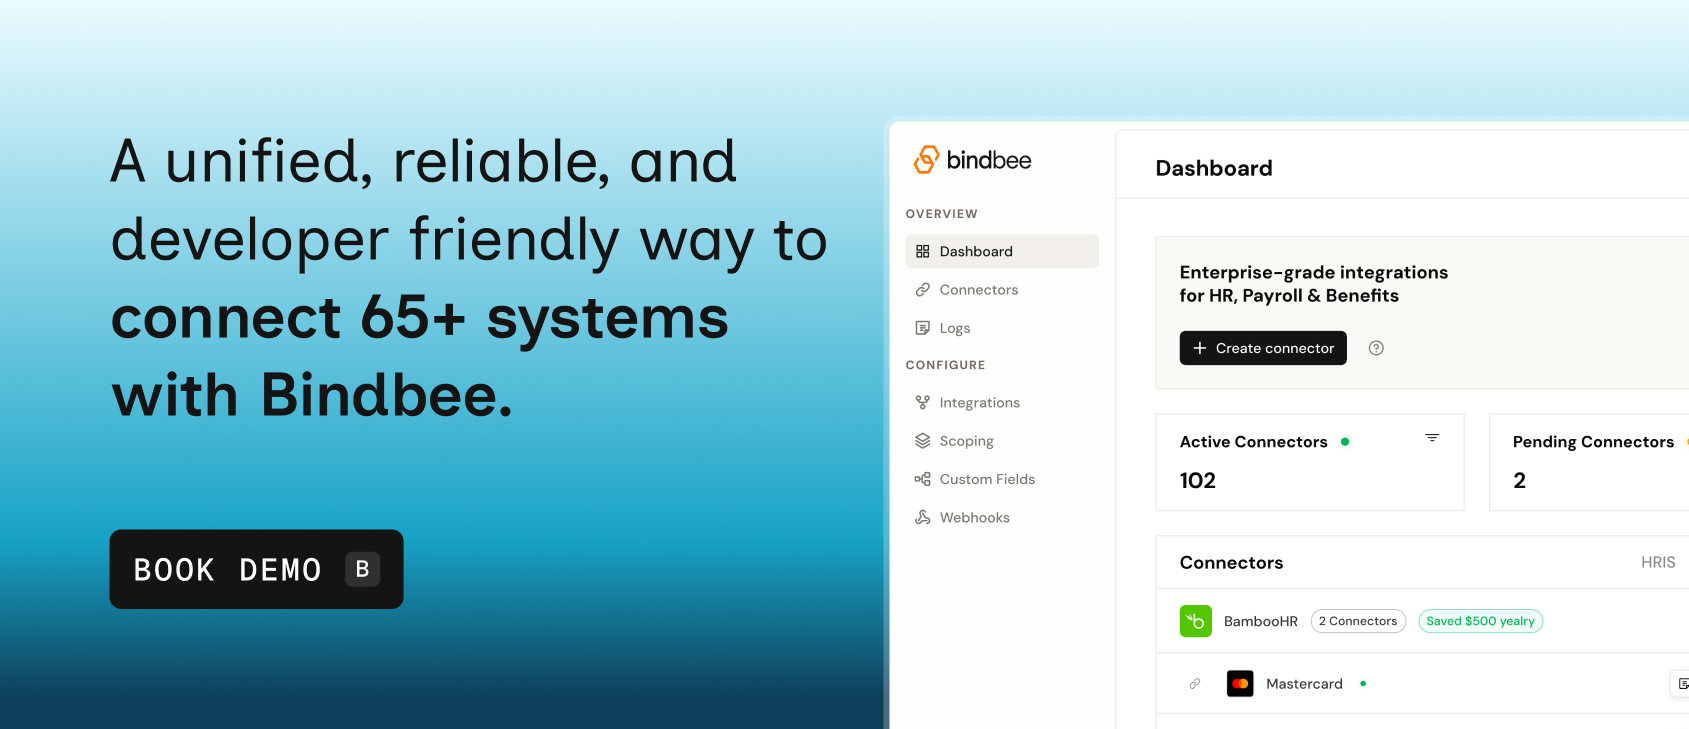
Bindbee normalizes Personio data alongside Workday, BambooHR, and 65+ other HRIS systems. Particularly useful for HR Tech platforms serving both European and global customers.
- Sign up with Bindbee
- Create a Personio connector
- Access normalized employee and time-off data immediately
Book a demo to see how Bindbee handles Personio and 65+ other HRIS integrations.